
BrightPay facilitates the importing of employee information in CSV format from SAGE 50 Payroll.
A CSV import of employee information can be performed in BrightPay at the beginning of the tax year.
Importing into BrightPay at the Start of the Tax Year
Please log in to BrightPay with your Bright ID. If you have already purchased BrightPay or another Bright product or used BrightPay Connect, you will already have a Bright ID.
If you do not have a Bright ID please click Sign up for a Bright ID and follow the steps.
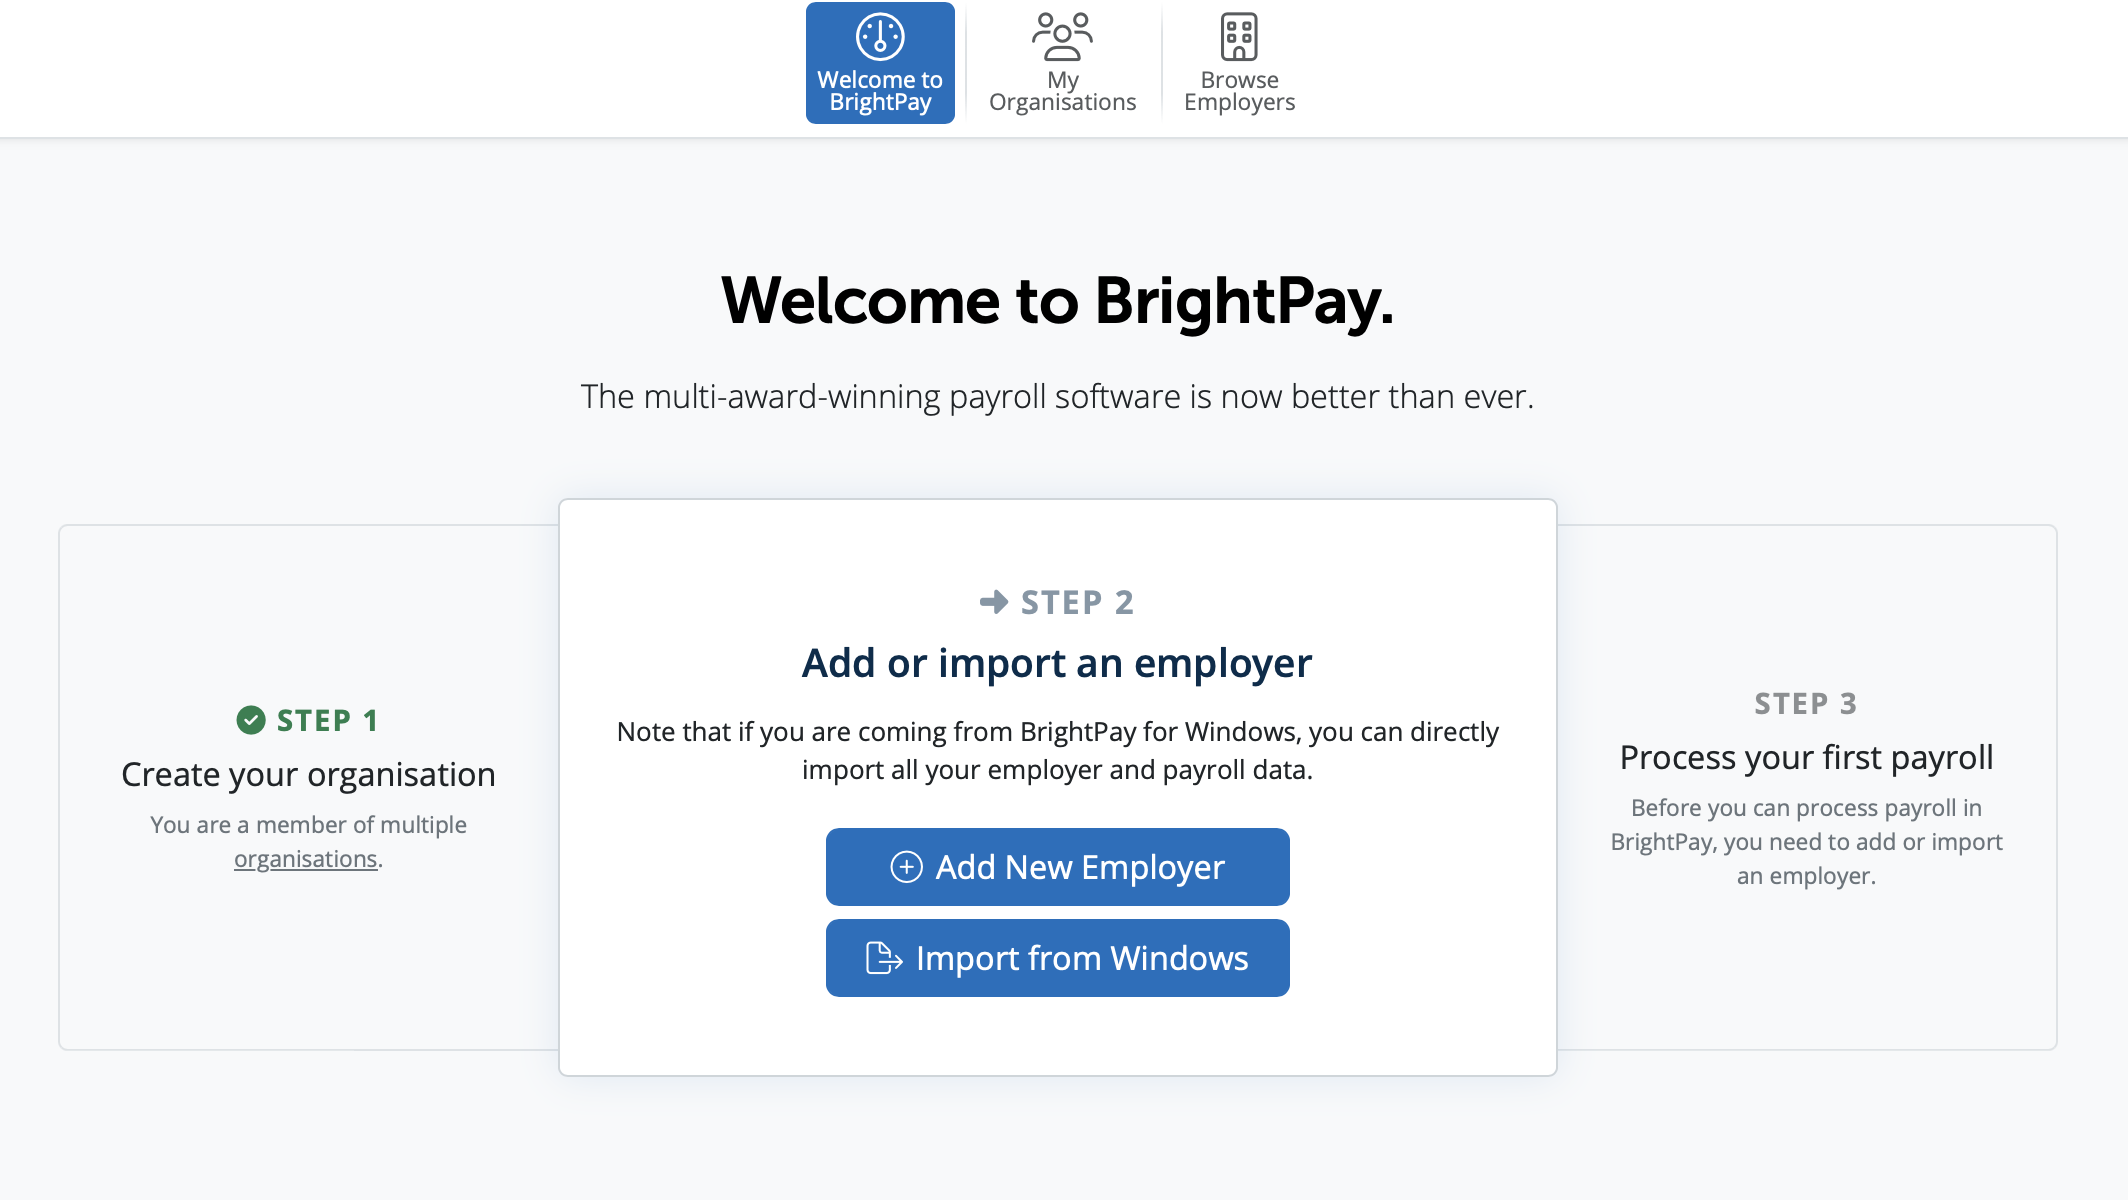
As a new user, when you log into BrightPay, on the Welcome to BrightPay, you will have a step-by-step guide on how to set up your information.
Step 1 - You will need to set up an Organisation. For assistance on setting up your organisation please see here.
Step 2 - Click Create or Import an employer - For assistance on setting up your employer, please see our step by step guide.
Step 3 - Open the employer in order to import your employee and pay information into BrightPay.
In order to export your data from Sage to csv file(s) please:
1) Export your CSV file containing your employee information from within your Sage 50 Payroll Software
Apologies for the poor representation of Sage screens below. We were asked by Sage to desist from using actual screenshots.
In Sage 50 Payroll go to > 'File > Data Export > Payroll Data Export':
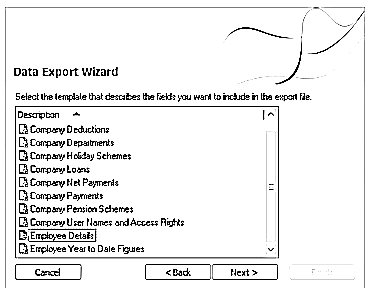
1 a) Select Employee Details and click 'Next'
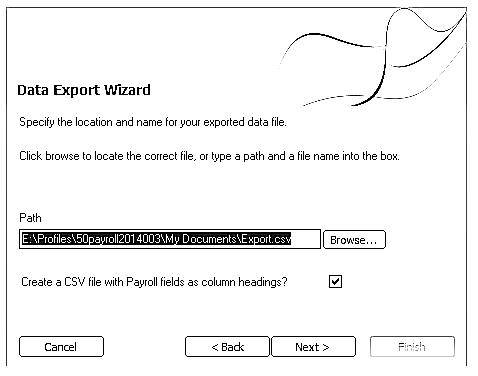
1 b) Select the location where you would like to save your file to using the 'Browse' button - click 'Next' when ready.
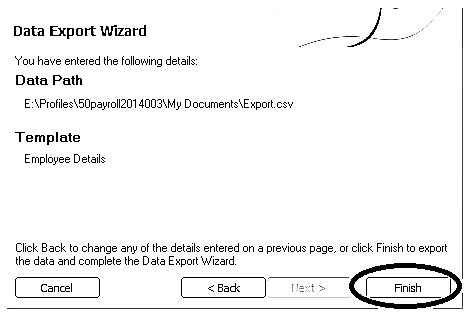
1 c) Click 'Finish'
Now go to the location where you have saved your CSV file to and change the name of the file to 'sage.csv'. This can be done by right-clicking on the file name and selecting 'Rename'.
By doing this, BrightPay will be able to recognise that you are importing from SAGE 50 Payroll.
Important note: Do not open the CSV file, as Excel will format items such as sort code and account numbers and they may no longer be importable into BrightPay.
2) Now create your Employer into BrightPay.
2 a) To manually create an employer in BrightPay select Add New Employer.
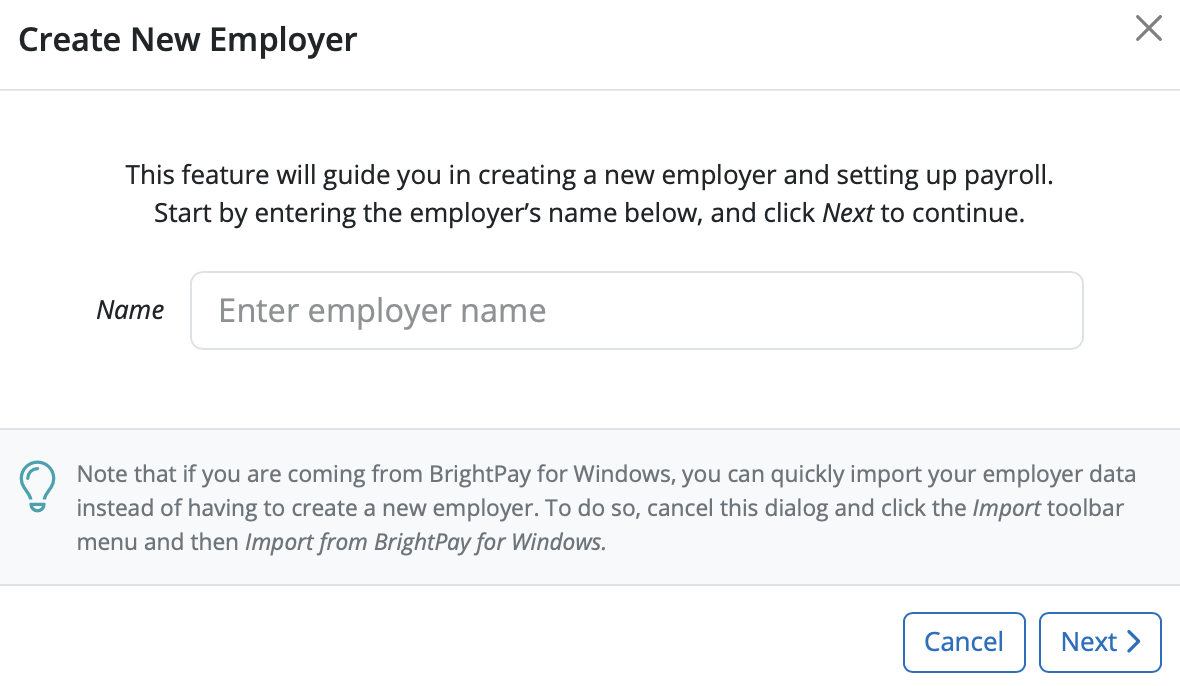
2 b) You can manually enter in the name of your employer. This is the name you have registered with Revenue and will appear on the payslips for your employees. Select 'Next'.
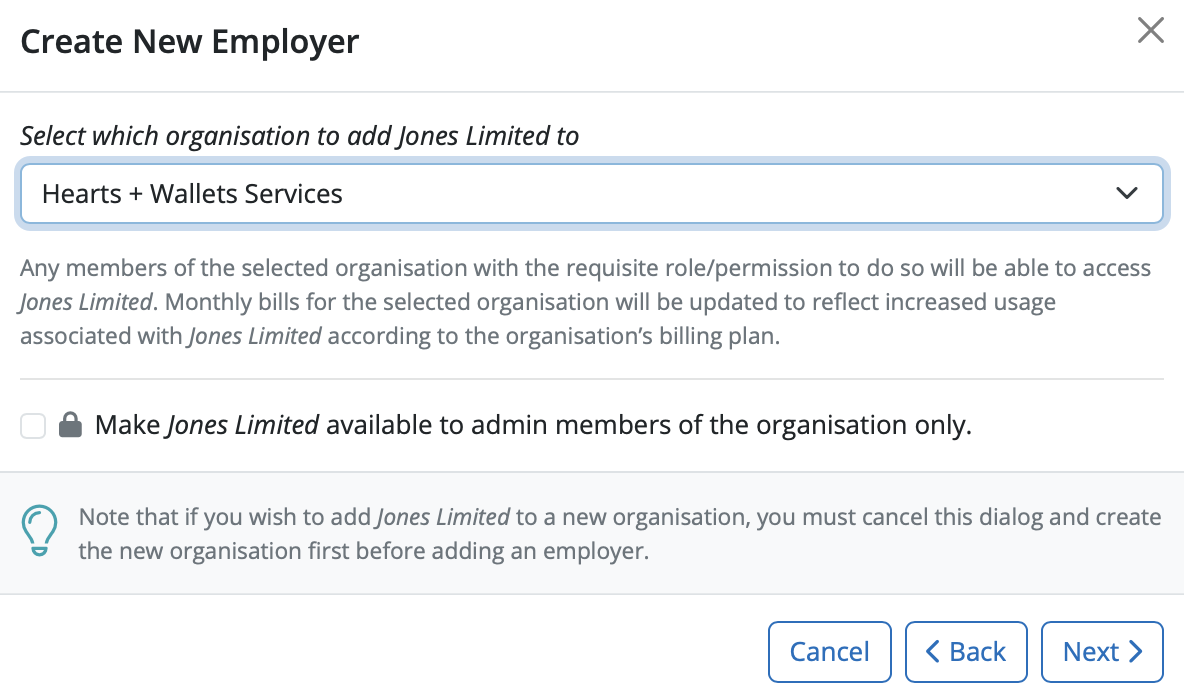
2 c) A new employer has to be assigned to an organisation. Select the organisation you wish to add your employer to.
If you wish you can mark an employer as available to admin members of the organisation only. This means that only the owner and administrator members of the Organisation will be able to see this employer when they access BrightPay.
Select 'Next'
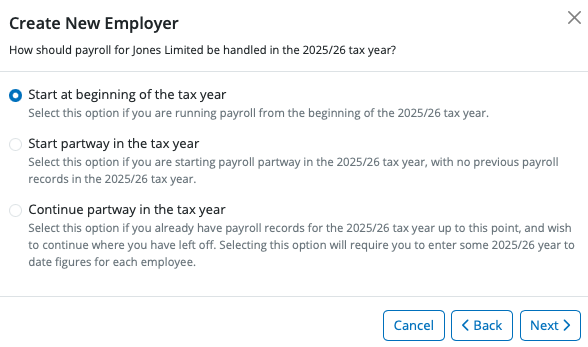
2 d) You’ll be asked how you would like to use BrightPay – three options are available:
1. Start at the beginning of the tax year - select this option if you are running payroll from the start of the tax year
2. Start Partway in the tax year – you should select this option if you are starting payroll partway in the tax year with no previous payroll records in the same tax year
3. Continue Partway in the tax year – you should select this option if you have already have payroll records for the tax year up to this point and wish to continue from where you have left off. Selecting this option will allow you to enter in year-to-date figures for each employee.
If you wish to import employee information at the start of the tax year Select 'Start at beginning of the tax year' and Select 'Next'
2 e) Complete each screen accordingly with your relevant employer information.
For further assistance with this, please see our support section on Adding a New Employer.
3 ) Once you have entered in and saved your employer information, go to > Employees > Import & Export > Import/Update Employees from CSV File....
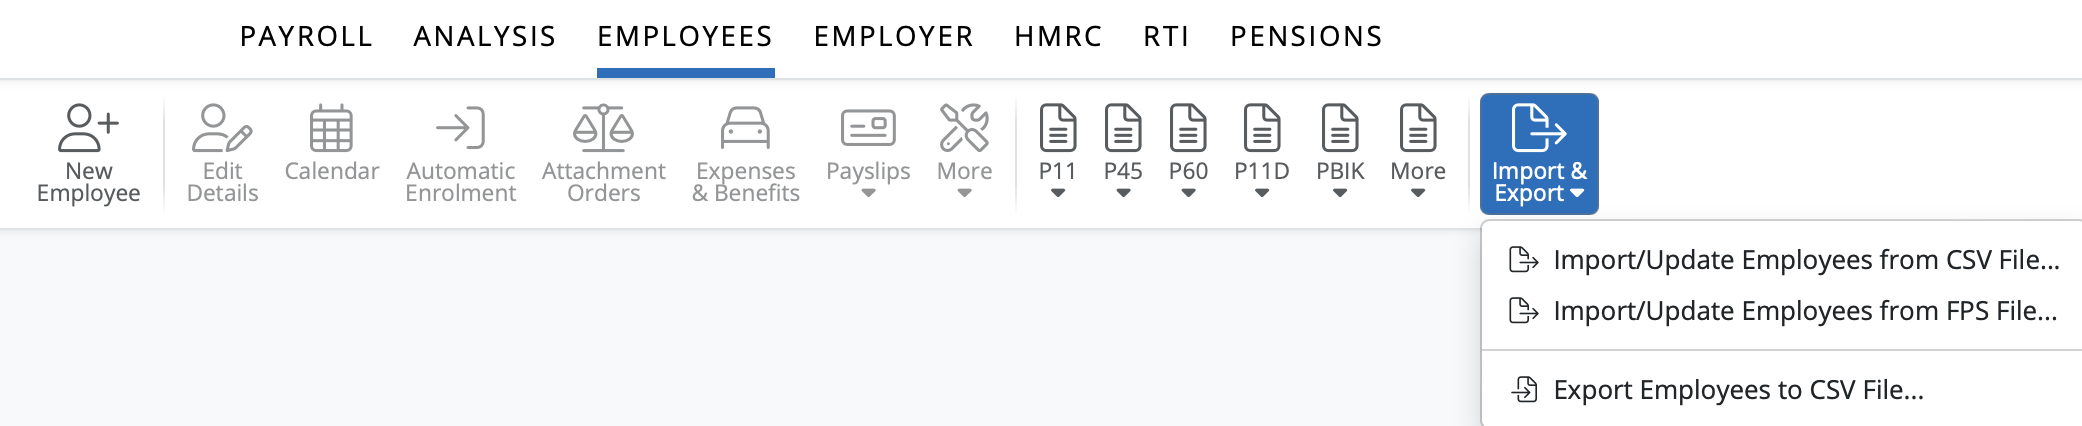
4 ) On the Import Employees from CSV File window select 'Continue'

5 ) Browse to the location of your SAGE CSV file, select it and press 'Open'.
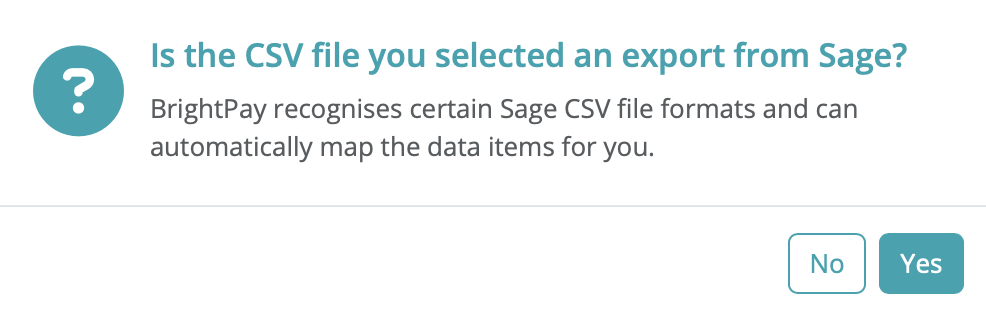
6 ) BrightPay will ask you to confirm that this is a SAGE file - click yes to confirm.
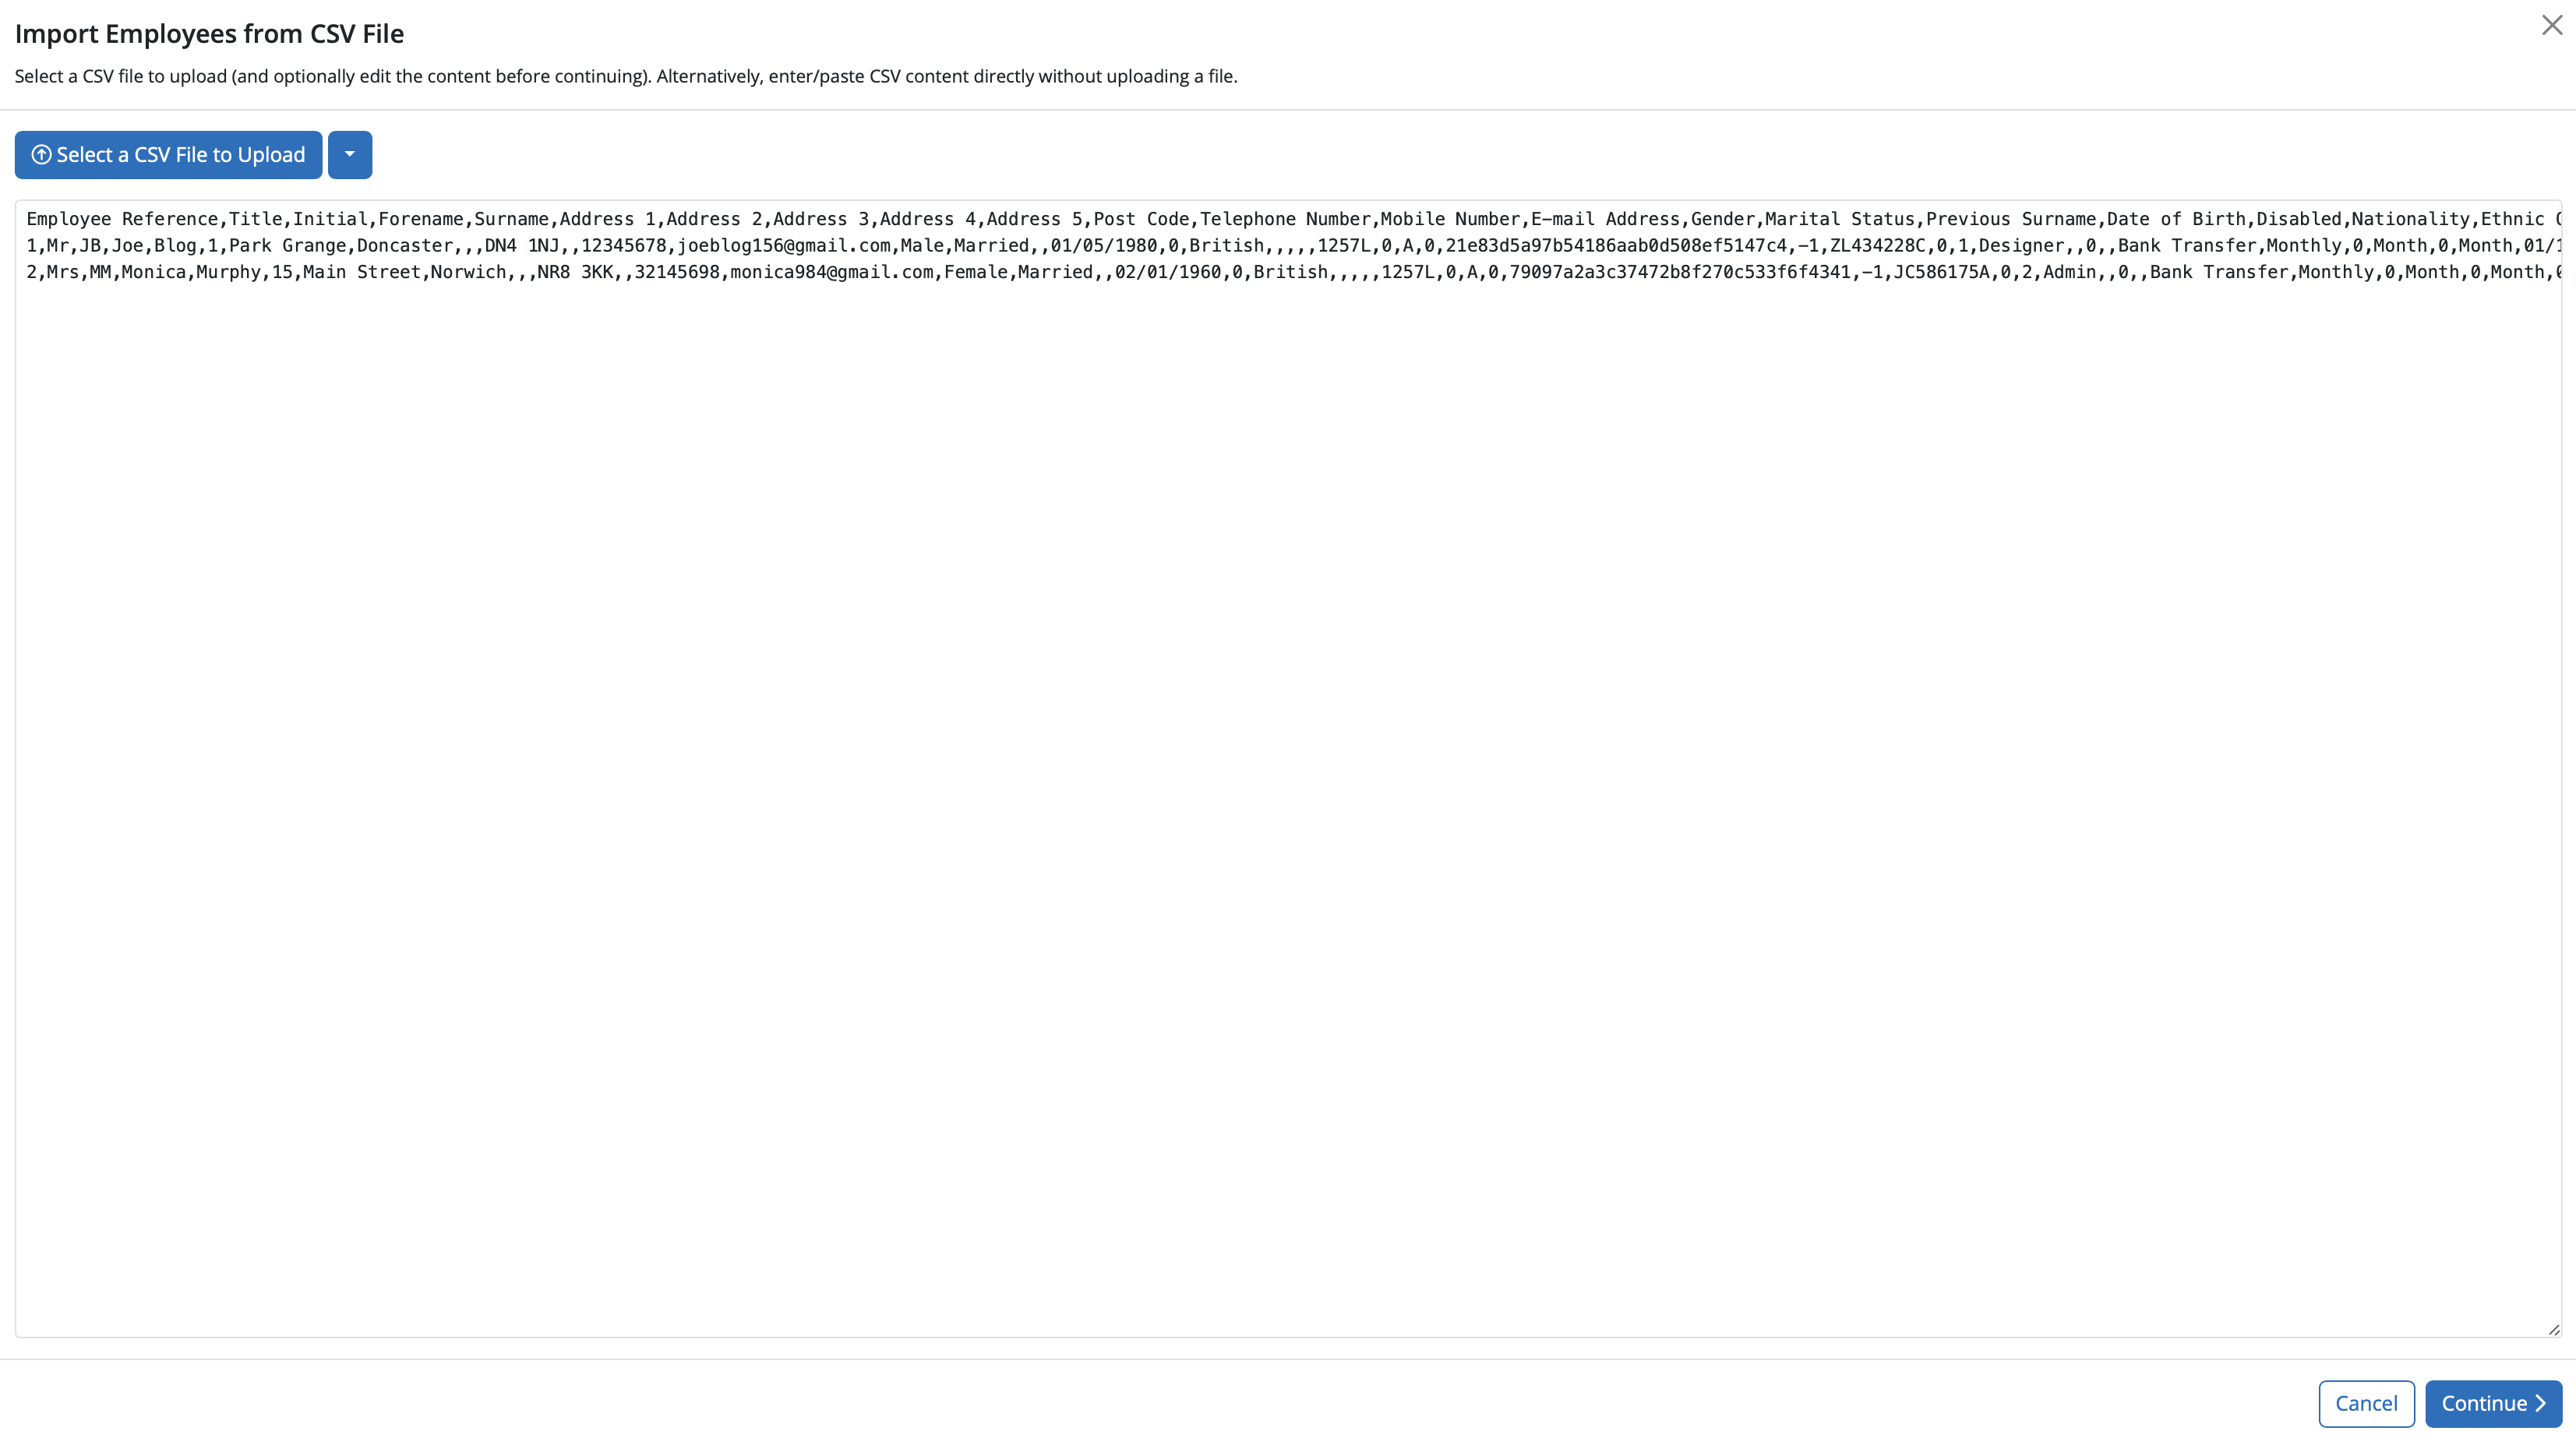
7 ) Your employee information will be displayed on screen. Please select Continue to move forward to the import screen.
8 ) On the import screen BrightPay will automatically match up your column information and will automatically untick the header row. Please untick any rows you do not wish to be imported into your employer.

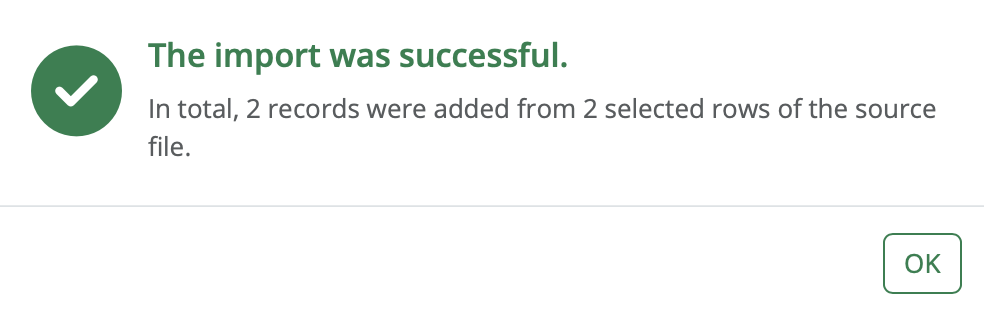
9 ) Click Import to complete the import of your employee information.

Your employee information will be imported into BrightPay.
Additional Information on Sage Import:
Only one phone number is imported per employee
Postgraduate Loan Plan is not imported from the CSV File
-
If a Director is on the Standard Annual Directors NIC calculation method, the Director status box should be ticked in Employees > Tax, NICs, RTI menu:
-
If a Director is on the alternate NIC method (known as Pro-Rata basis in Sage), they will not be imported as a director. Both the director box and "alternate method boxes will need to be ticked in BrightPay":
Following the import, further employee information can be manually entered within 'Employees', if required. Alternatively, you may wish to update missing employee information using a CSV file, for more details, click here Updating Existing Employee Details from a CSV File
Migration Checklist may assist you with the migration process and set-up.
It is also recommended that all employee details are reviewed before processing any payroll to ensure information imported in is correct and applicable for the tax year in question.
After reviewing your employee and employer information, simply click the 'Payroll' tab to commence processing payroll.
Need more help with your migration? Email brightpayukmigration@brightsg.com
Comments
0 comments
Article is closed for comments.